Need help calculating box quantity?


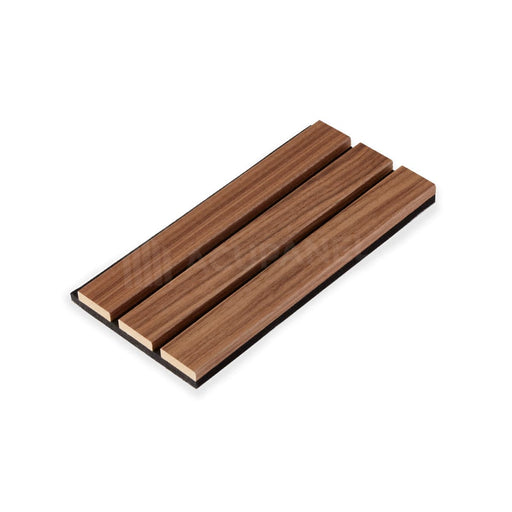
Walnut Zigzag Fluted Tambour Wood Effect Wall Panels
- Highest quality premium finish
- Our team are here to help
Overview
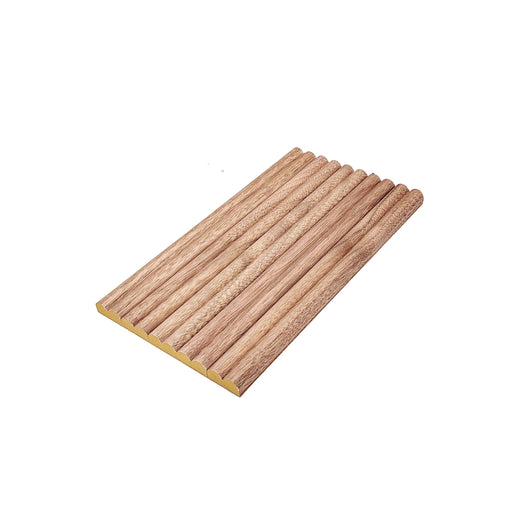
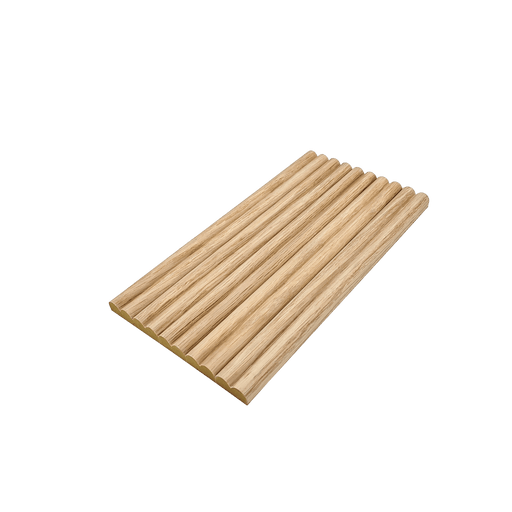
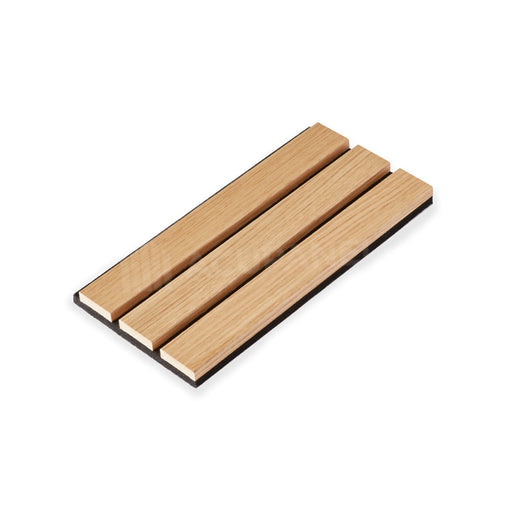
Meet our unique fluted wall panel, showcasing oak laminate and an eye-catching zigzag pattern, a perfect alternative to high-priced solid wood tambour panels. This panel blends grace and practicality with an enchanting fluted design, amplified by the modern zigzag pattern on the front.
The oak laminate is carefully created to capture the warmth and charm of real wood, offering improved durability and effortless upkeep. Welcome our efficient solution, providing you the quality and style of solid wood tambour panels without the high price tag.
The lightweight design and interlocking edges of this panel make installation straightforward, ensuring long-lasting beauty. Delve into the timeless appeal of fine wood by choosing our fluted wall panel with oak laminate and zigzag pattern - a distinctive choice that adds a touch of elegance to any setting.
Key Features
- Affordable luxury with high-end laminate finish.
- Lightweight construction enables simple installation.
- Elegant and in-trend pattern for timeless sophistication.
- Mimics real wood's warmth and beauty.
- Easy maintenance, resisting scratches and damage.
- Budget-friendly alternative to solid wood tambour panels.
- Each box contains four panels measuring 94.09" x 5.68".
Specification
- Multipack including four 94.09" x 5.68" panels.
- 0.86" thickness.
- Wood effect paper laminate.
- Lightweight construction.
Installation & Downloads
Step 1: Preparation
Ensure that the area where you plan to install the tambour panel is clean, dry, and free from obstructions.
Step 2: Gather Necessary Materials
You will need a strong adhesive glue for the installation. Optionally, a nail gun can be used for additional reinforcement.
Step 3: Cutting the Panels
Should you need to resize the panels, they can be effortlessly trimmed using a hand or power saw equipped with a fine, sharp blade.
Step 4: Positioning and Gluing the Panel
Carefully place the panel onto the desired spot, pressing firmly to make sure the glued surface makes full contact with the wall. Apply an even layer of the adhesive glue on the back of the tambour panel. Make sure the edges and corners are well covered for optimal adhesion.
Step 5: Optional - Nail Gun Reinforcement
For extra security, you may use a nail gun to affix the panel onto the wall. This step is optional and depends on the type of wall and your preference.
Step 6: Clean Up
Immediately after installation, clean any excess glue that may have seeped out from the sides of the panel using a damp cloth.
Step 7: Drying Time
Allow ample time for the glue to dry completely. Refer to the adhesive manufacturer's instructions to know the recommended drying time.
Step 8: Repeat for Remaining Panels
Follow the same process for each panel, ensuring a proper alignment between panels for a seamless finish.
Shipping
We offer free shipping on all orders!
You will be notified when your order is dispatched and provided with a tracking number through the courier.


