Need help calculating box quantity?


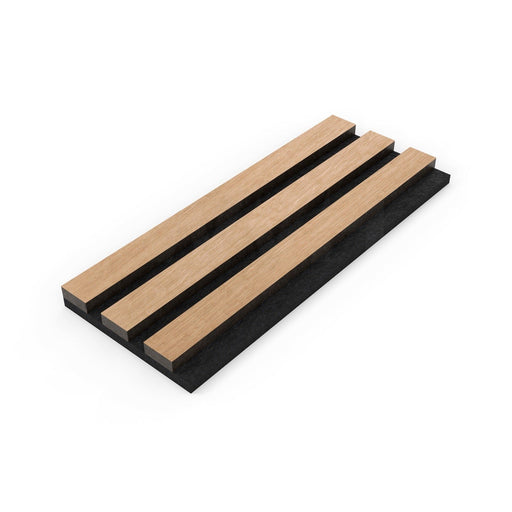
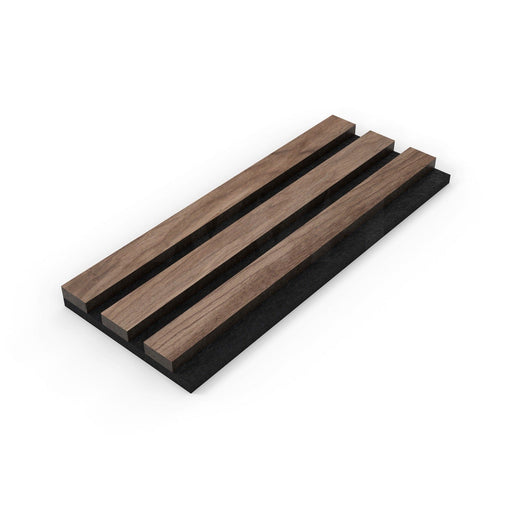
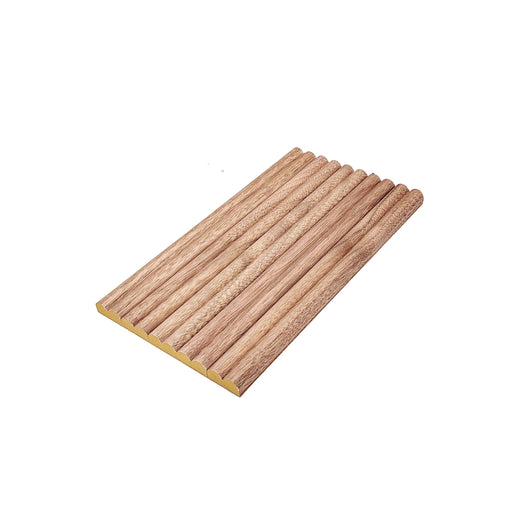
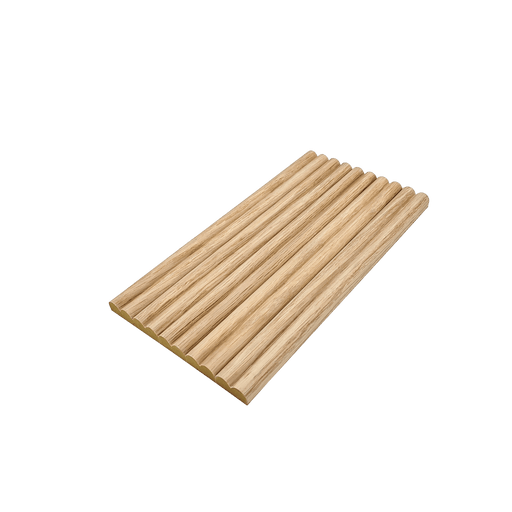
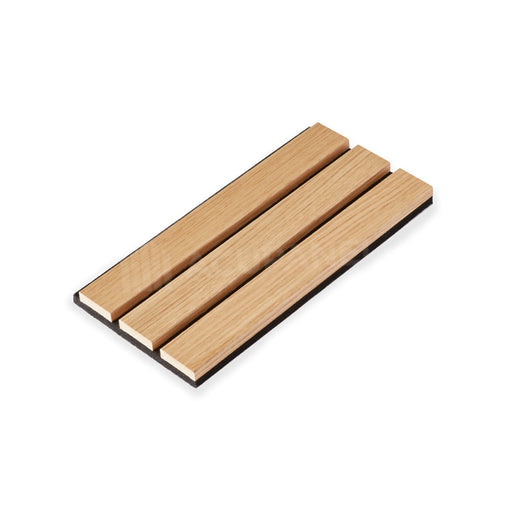
Oak Slat Fluted Tambour Wood Effect Wall Panels
Black Friday
Get up to 30% off this Black Friday. <br>Additional discount automatically applied at checkout
- In stock and ready to ship
- Fast and free shipping
- Highest quality premium finish
- Our team are here to help
Overview
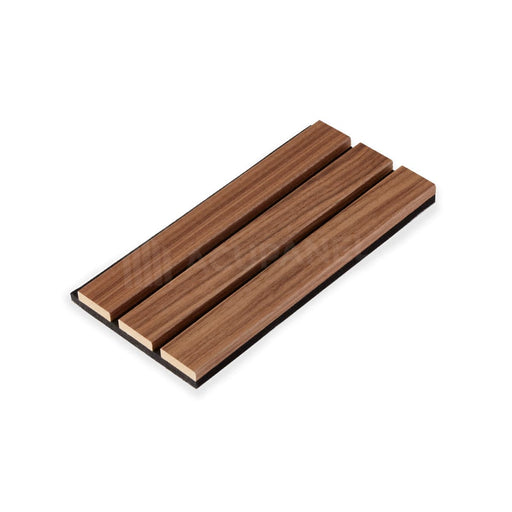
Boost the appeal of your space with our fluted wall panel, featuring oak laminate and a stylish slat pattern - a superior, budget-friendly alternative to pricey solid wood tambour panels. This panel effortlessly marries cost-effectiveness with elegance, showcasing an enticing fluted design that's amplified by the sleek slat pattern on the front.
These oak laminate panels beautifully mimic the natural warmth and allure of authentic wood, offering enhanced durability and easy upkeep. You can now bid adieu to the steep costs of solid wood tambour panels and welcome our wallet-friendly option that doesn't compromise on quality or looks.
Thanks to its lightweight build and interlocking edges, installation is quick and easy, and the scratch-resistant surface promises lasting appeal. Enjoy the beauty of fine wood without straining your budget by choosing our fluted wall panel with oak laminate and slat pattern - a truly remarkable choice that elevates any space.
Key Features
- Affordable luxury with high-end laminate finish.
- Lightweight construction enables simple installation.
- Elegant and in-trend pattern for timeless sophistication.
- Mimics real wood's warmth and beauty.
- Easy maintenance, resisting scratches and damage.
- Budget-friendly alternative to solid wood tambour panels.
- Each box contains four panels measuring 94.09" x 5.68".
Specification
- Multipack including four 94.09" x 5.68" panels.
- 0.86" thickness.
- Wood effect paper laminate.
- Lightweight construction.
Installation & Downloads
Tech sheet can be found here
Step 1: Preparation
Ensure that the area where you plan to install the tambour panel is clean, dry, and free from obstructions.
Step 2: Gather Necessary Materials
You will need a strong adhesive glue for the installation. Optionally, a nail gun can be used for additional reinforcement.
Step 3: Cutting the Panels
Should you need to resize the panels, they can be effortlessly trimmed using a hand or power saw equipped with a fine, sharp blade.
Step 4: Positioning and Gluing the Panel
Carefully place the panel onto the desired spot, pressing firmly to make sure the glued surface makes full contact with the wall. Apply an even layer of the adhesive glue on the back of the tambour panel. Make sure the edges and corners are well covered for optimal adhesion.
Step 5: Optional - Nail Gun Reinforcement
For extra security, you may use a nail gun to affix the panel onto the wall. This step is optional and depends on the type of wall and your preference.
Step 6: Clean Up
Immediately after installation, clean any excess glue that may have seeped out from the sides of the panel using a damp cloth.
Step 7: Drying Time
Allow ample time for the glue to dry completely. Refer to the adhesive manufacturer's instructions to know the recommended drying time.
Step 8: Repeat for Remaining Panels
Follow the same process for each panel, ensuring a proper alignment between panels for a seamless finish.
Shipping
We offer free shipping on all orders!
You will be notified when your order is dispatched and provided with a tracking number through the courier.


